Create a File System
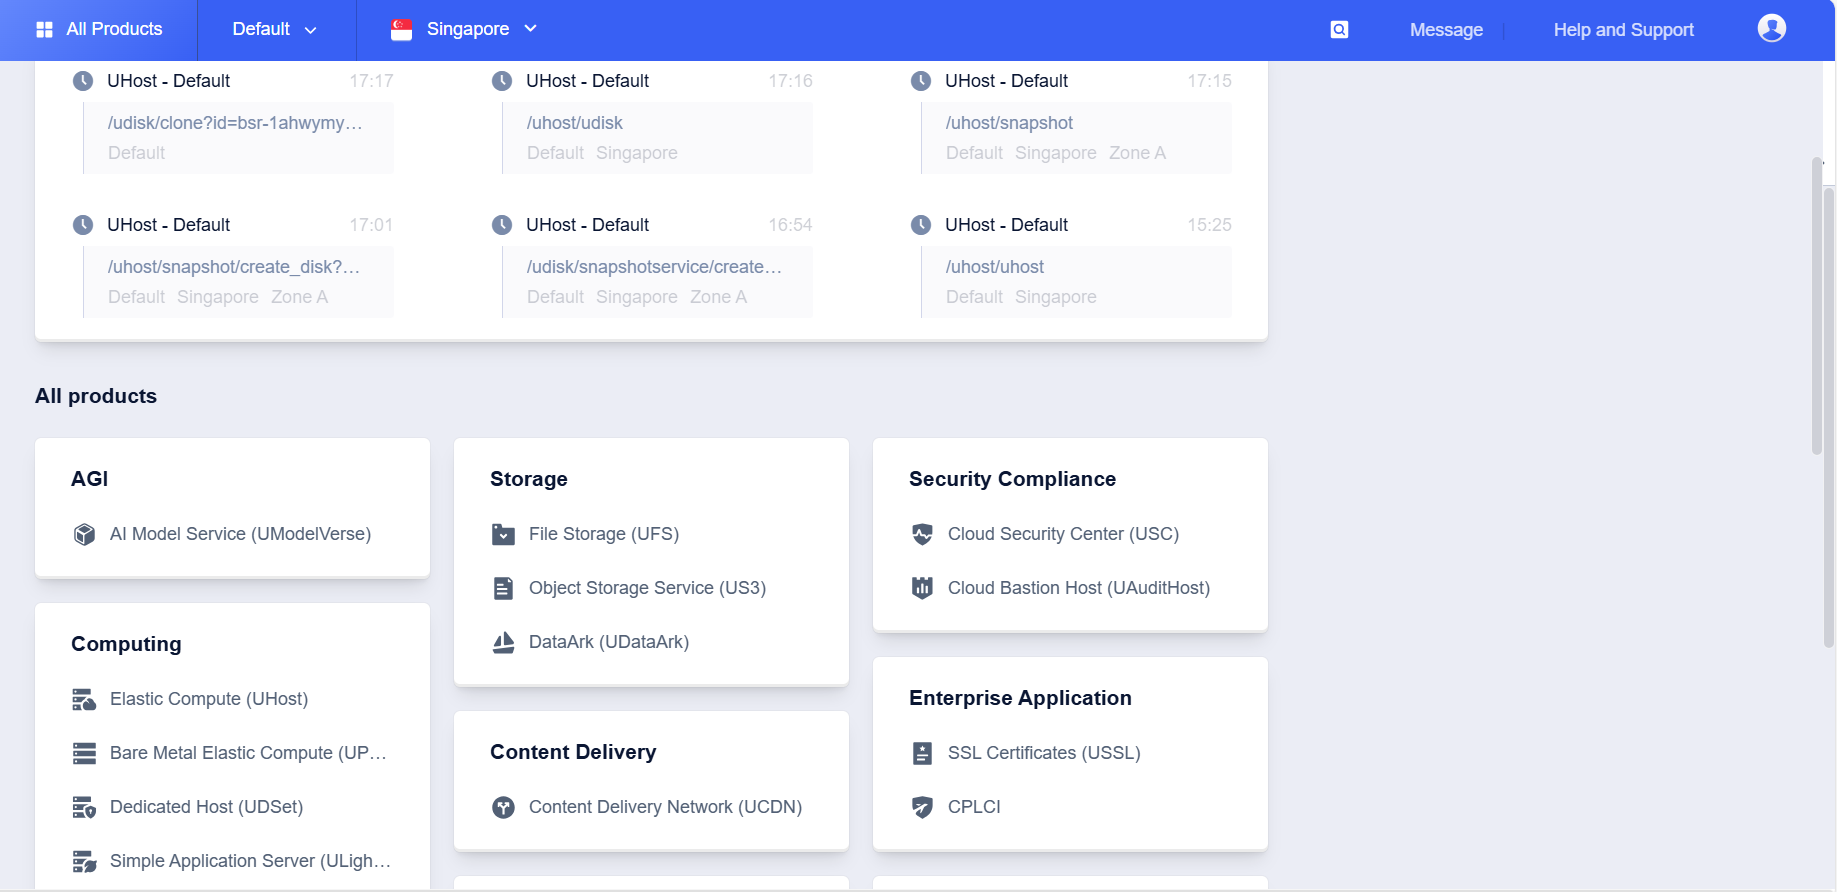
Step One, Enter the UFS Product
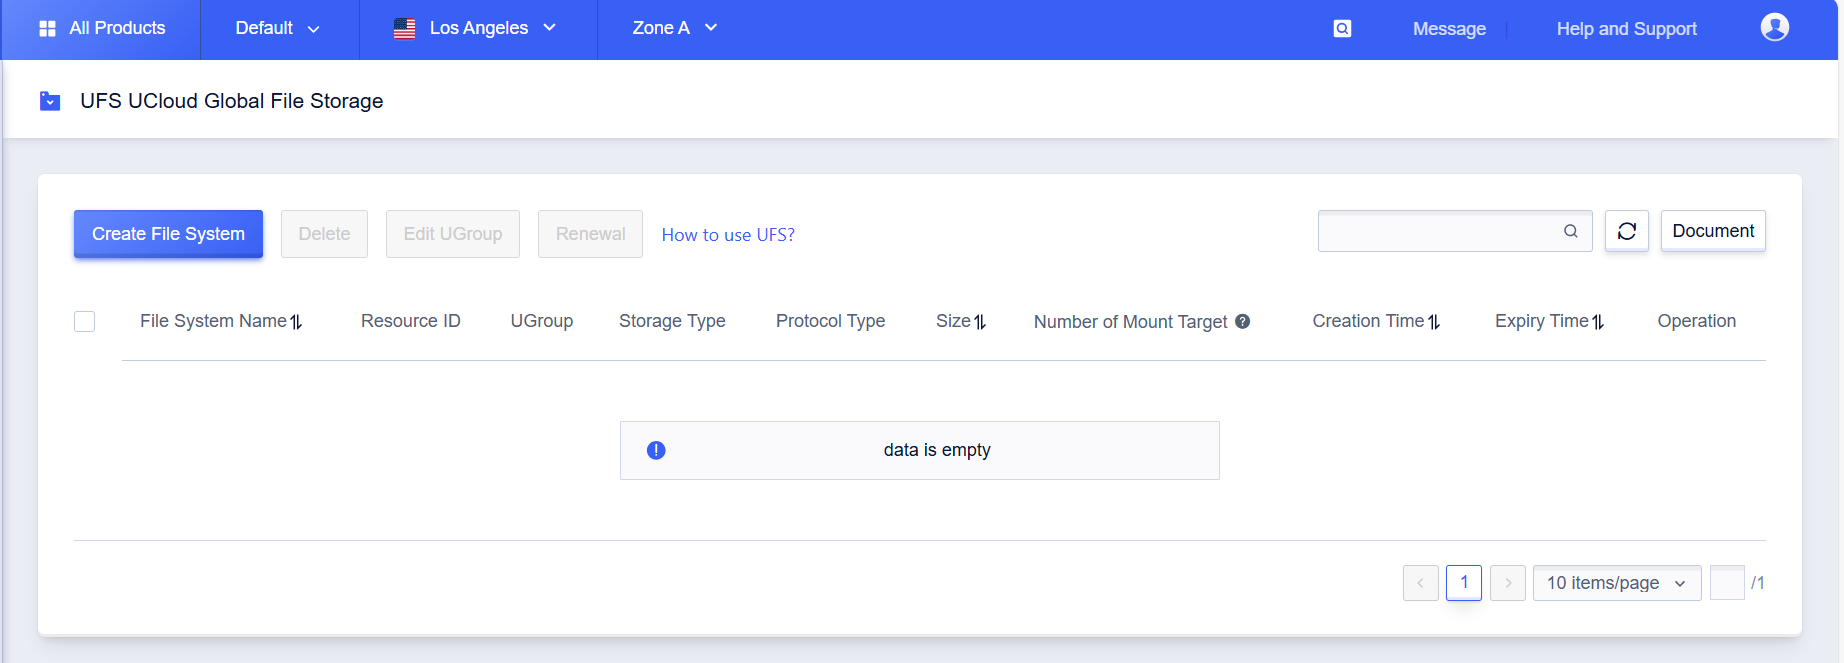
Step Two, Select the Target Region and Project Group for Creating File Storage on the Console Page
Currently, for the details of File Storage support in various regions, please refer to the Product Limitations section or consult technical support. Since the access to the file system is based on VPC, and currently only the VPC in the same project group with the file system instance is allowed to be selected for access on the console, please determine the project group where the host that needs to access the file system is located, and create the file system instance in the same project. If you wish to allow hosts from other project groups to access the file system later, this can be achieved by connecting the VPC where the hosts are located with the VPC where the file system’s mount point is located via the console.
Step Three, Create a File System
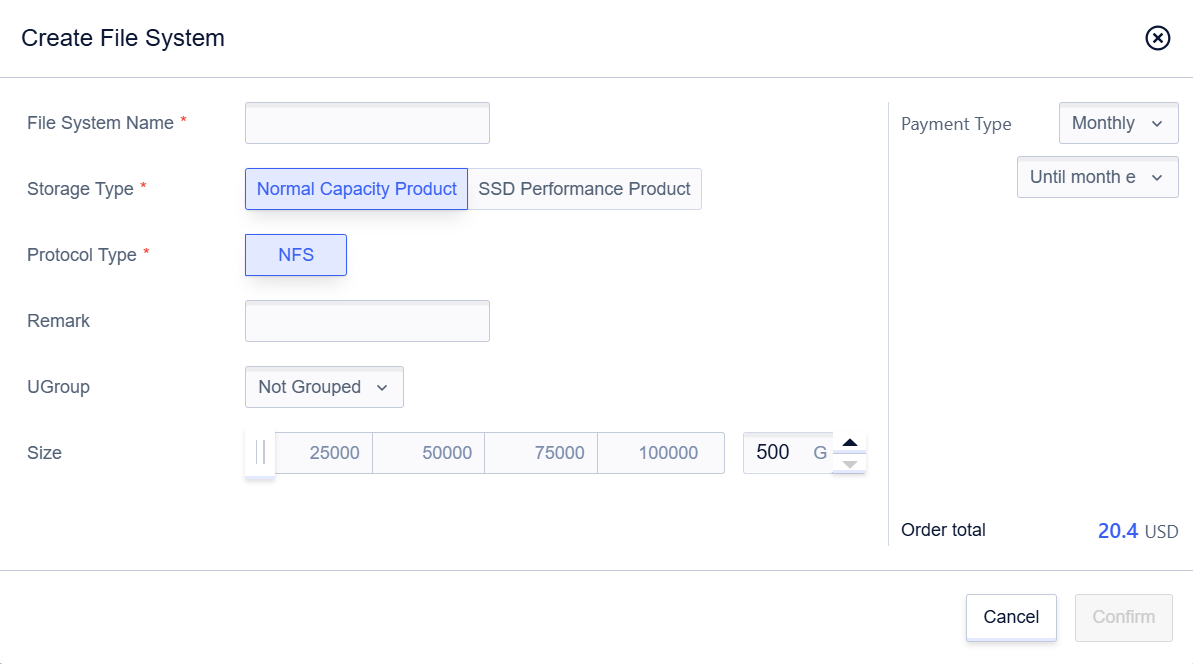
It should be noted that currently, UFS supports two product types: capacity-oriented and performance-oriented, as well as two protocol types: NFS and SMB. Please select the appropriate product type and protocol type according to your business scenarios. For details, please refer to the Application Scenarios and Product Limits sections. After confirming the product details, click “Confirm” and proceed with payment confirmation.
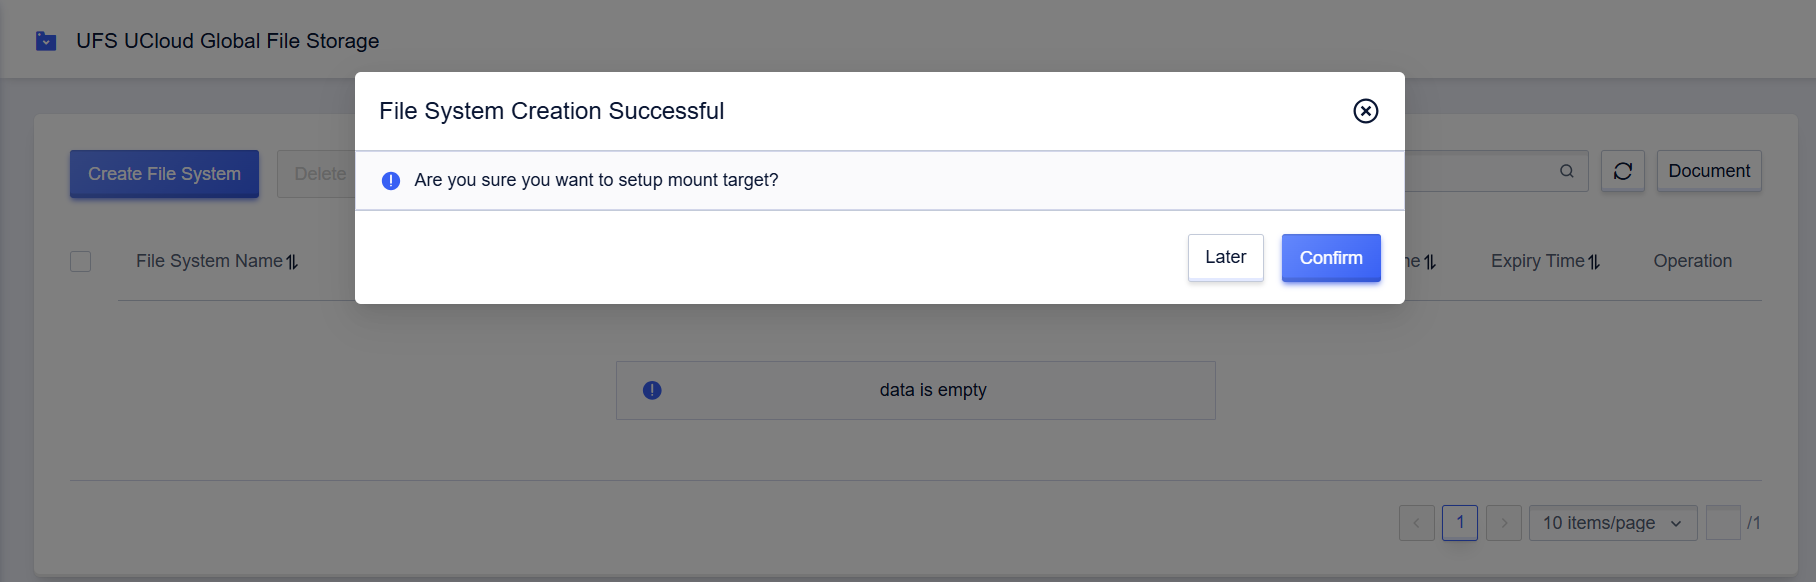
Step Four, Complete the Creation or Set the Mounting Point
Since the mount point can also be configured through the subsequent “Mount Point Management” operation, you can click “Set Up Later” after creation to complete the creation process. It should be ensured that the subnet selected for the mount point has at least three available IPs.
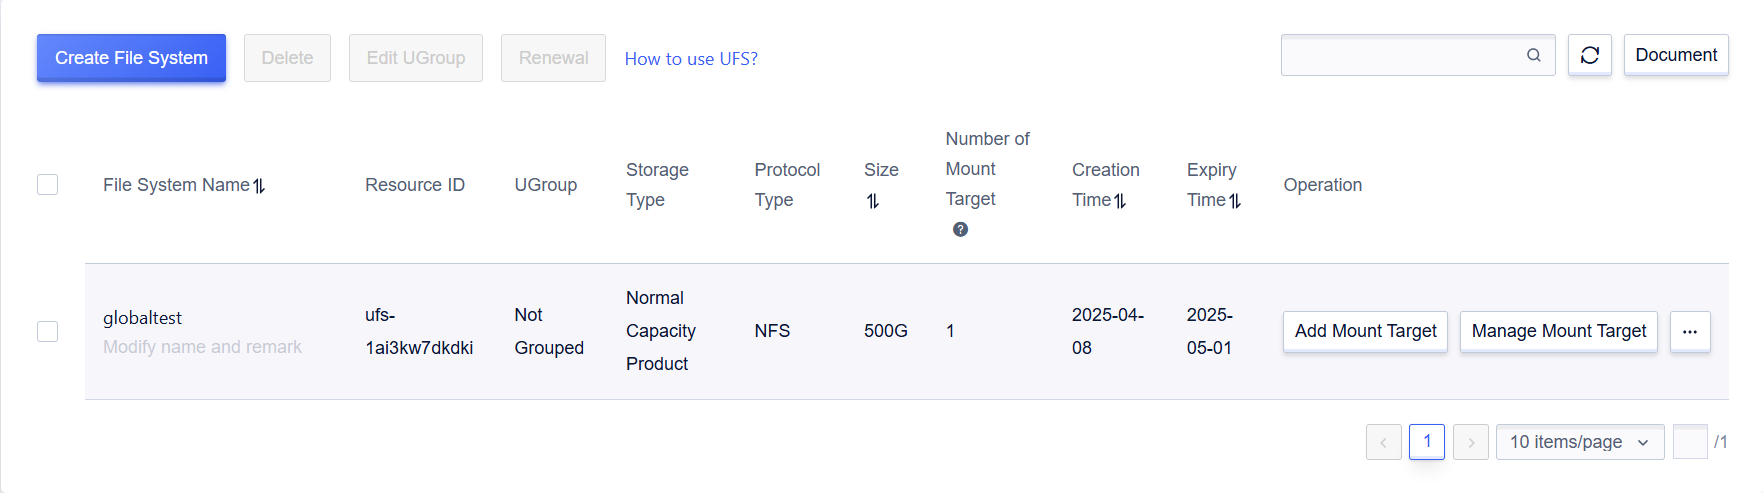
Step Five, Display the Instance List after Creation