Subnet
Create a Subnet
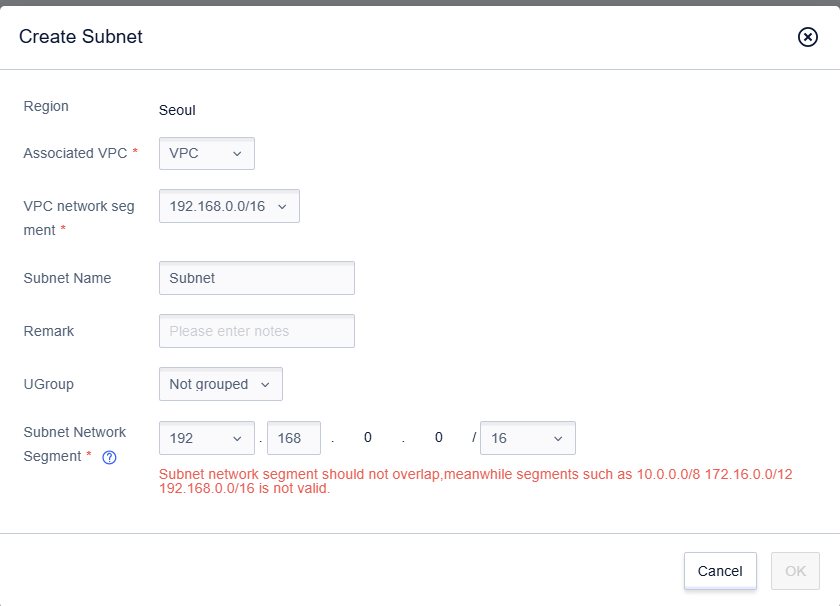
- Sign in to the console, select the subnet option under the VPC Virtual Private Cloud, and click the “Create Subnet” button.

- Select the VPC to which the subnet belongs, and enter the subnet name and subnet segment. The subnet segment must be within the VPC address segment, and cannot overlap with existing subnets. Click “OK”.

- After creation, you can see the newly created subnet in the subnet list.
Delete a Subnet
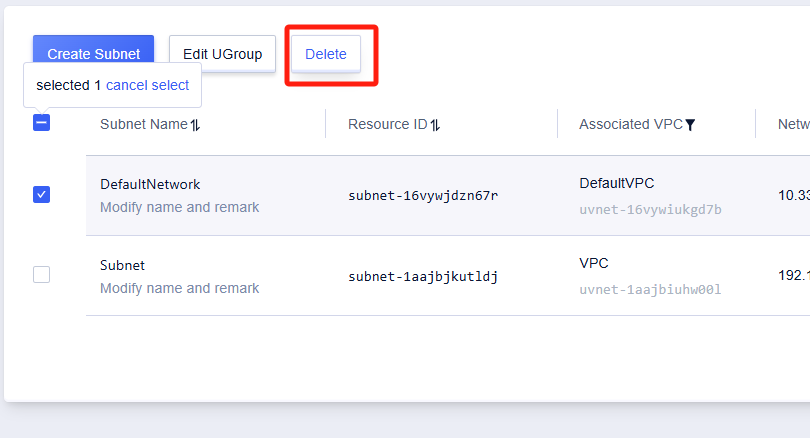
- Users can delete the created subnets. On the subnet page, select the subnet to be deleted, and click the “Delete” button.
Note: Subnets that still contain resources are not allowed to be deleted. Before deleting a subnet, you need to first delete the resources such as cloud servers in the subnet.

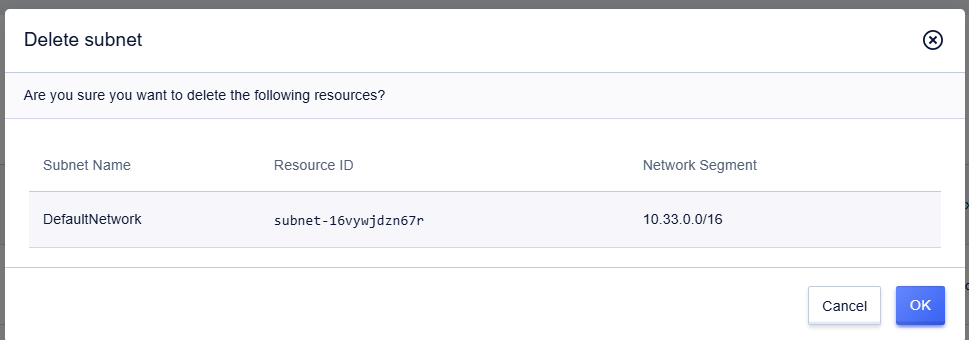
- After confirming that it is correct, click OK to delete the subnet.

Show Subnets
- In the subnet tab of the console, you can display a list of all subnets in the current region.

- Click the ‘Associated VPC’ item in the list to filter out the subnet list that belongs to a specific VPC.

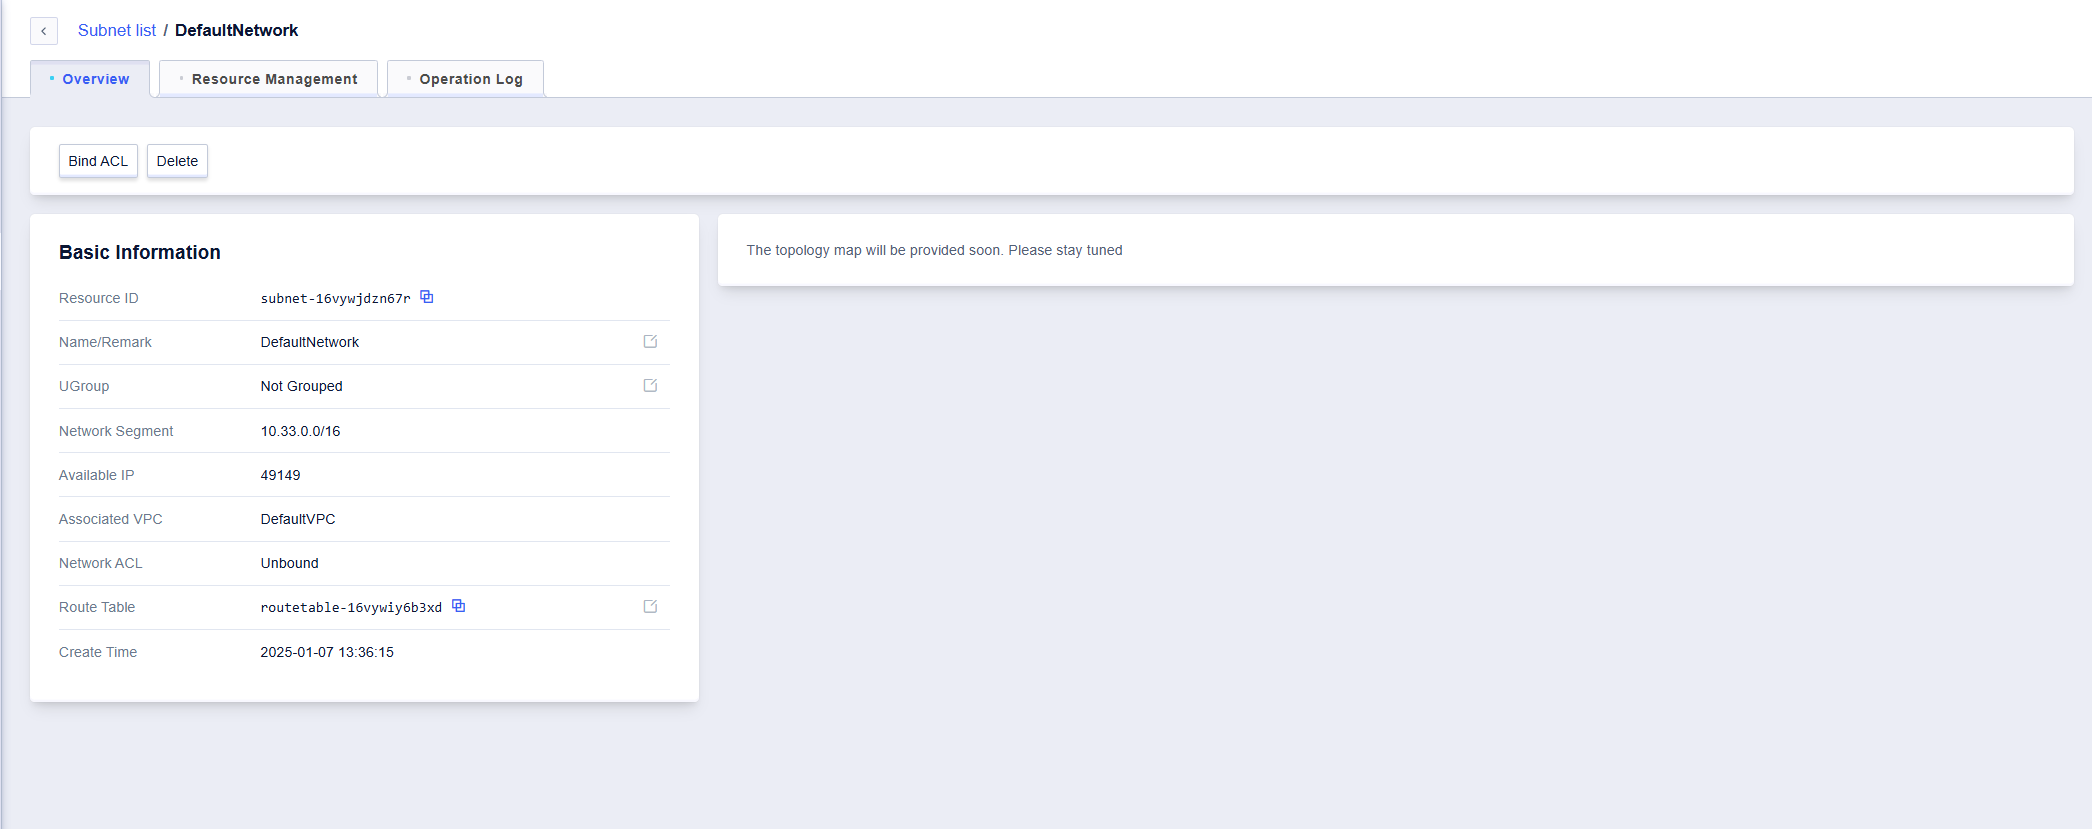
- Click the subnet name or the ‘Details’ button to enter the subnet overview page.

- Click the ‘Resource Management’ tab on the overview page, you can view the resources under the current subnet, such as cloud servers, databases, etc.
