Routing Table
The routing table is a product at the VPC level that can control the network traffic path of cloud resources. A routing table consists of multiple routing rules, which take effect on all resources in the subnet by binding with the subnet.
Creating a Custom Routing Table
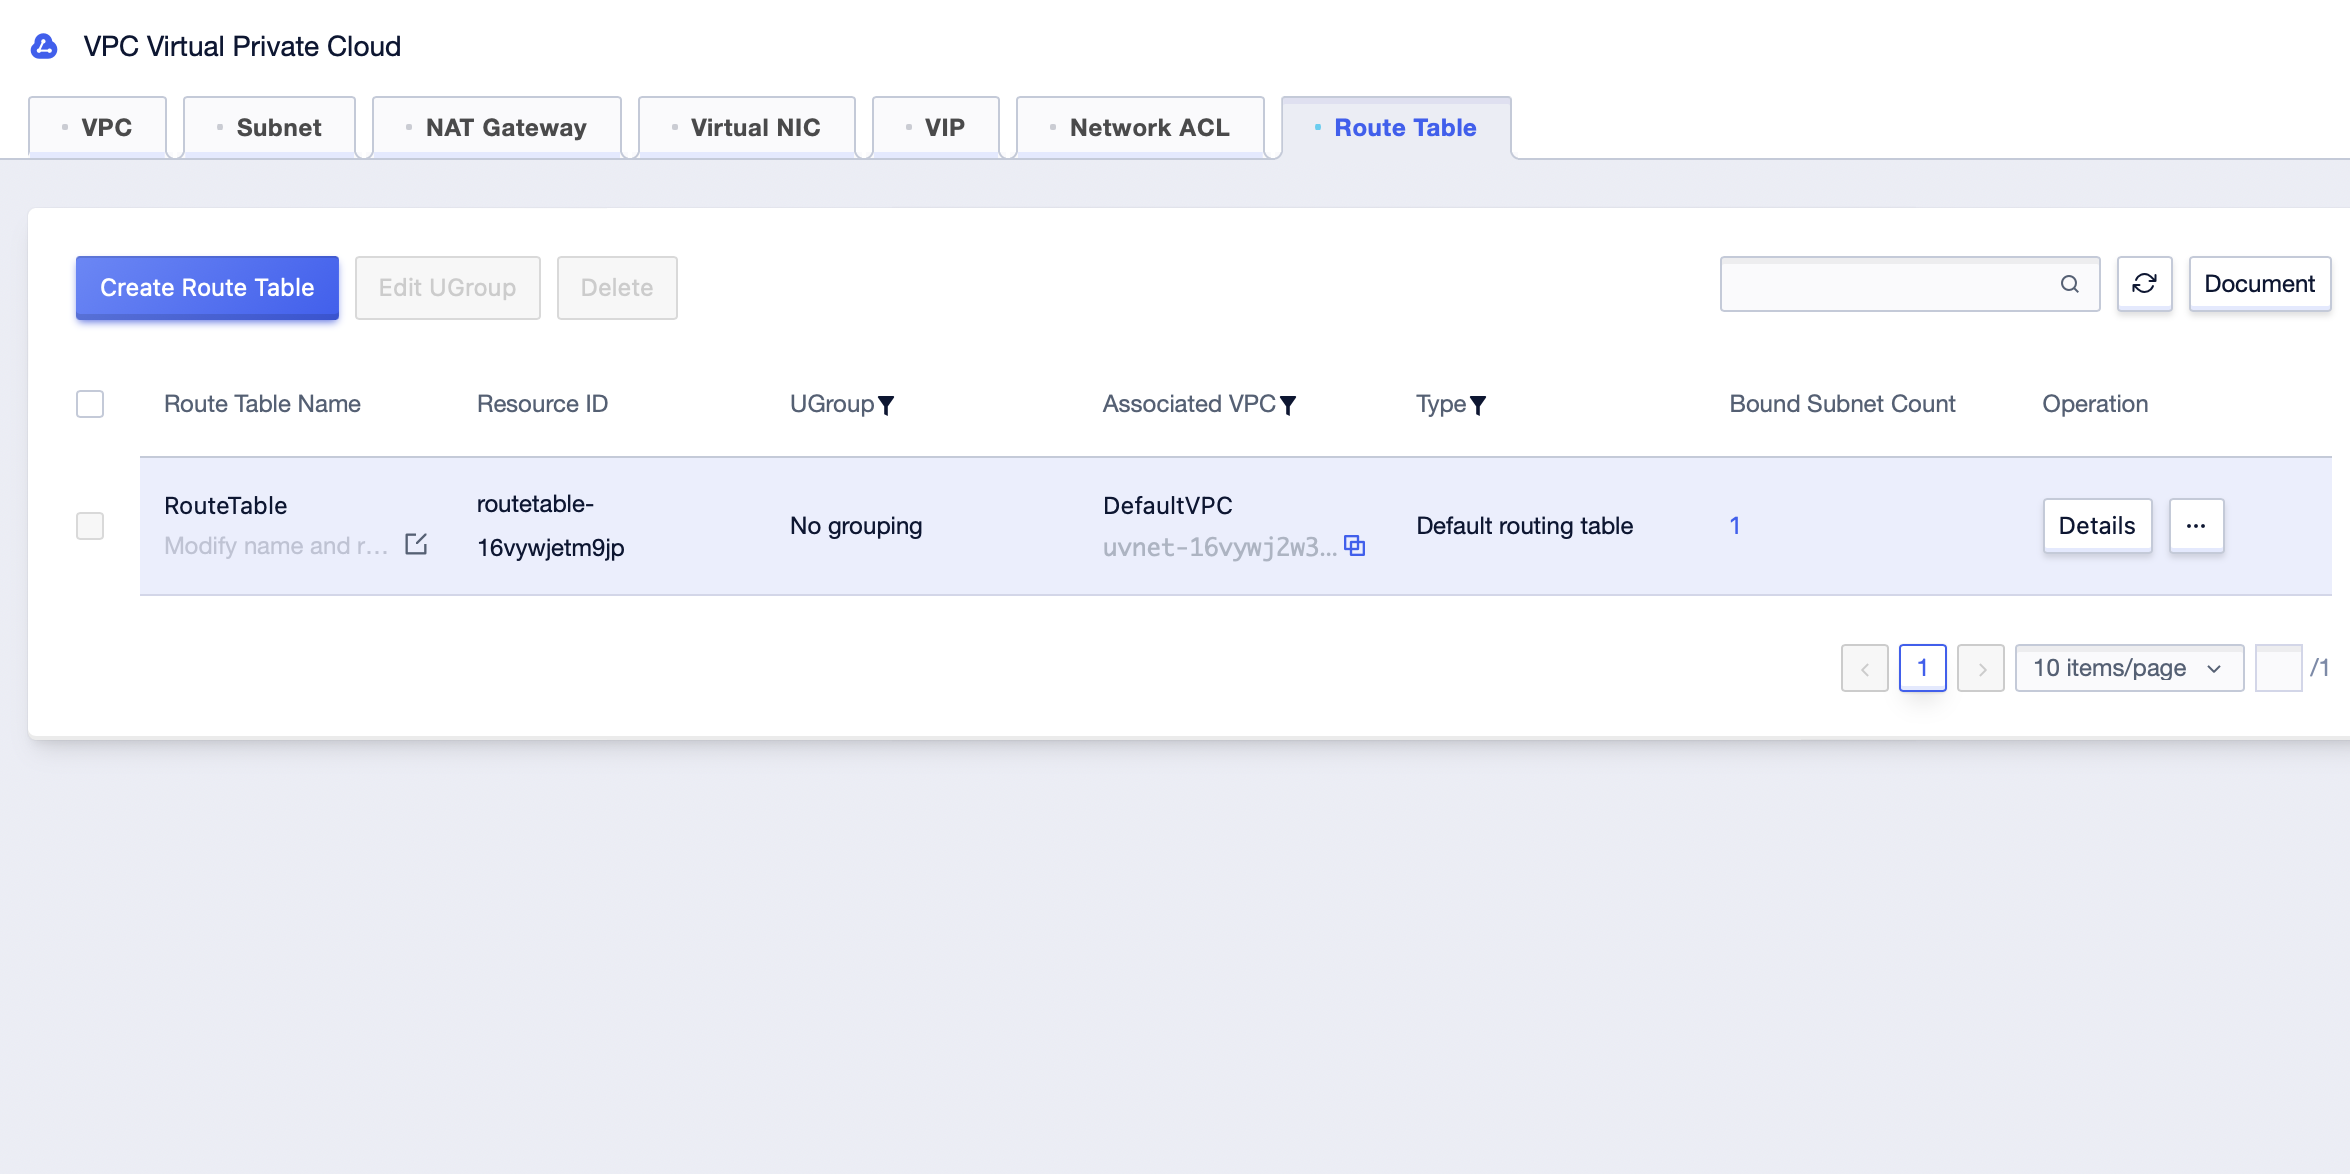
- Log in to the console and select “VPC Virtual Private Cloud” in “All Products” to enter the private network page. You can click “Create Route Table” in the route table tab to create a route table instance.
- You need to fill in the following information to create a routing table. Click OK after filling in all information.
   Route Table Name: Required. Name this route table.

   Remark: Optional. Remarks information of the route table, which is convenient for searching and locating the route table.

   Associated VPC: Required. The route table is a resource under a VPC, and the created route table can only be applied to the subnet under this VPC.

  UGroup: Required. The default is DefaultVPC. The UGroup to which the route table belongs.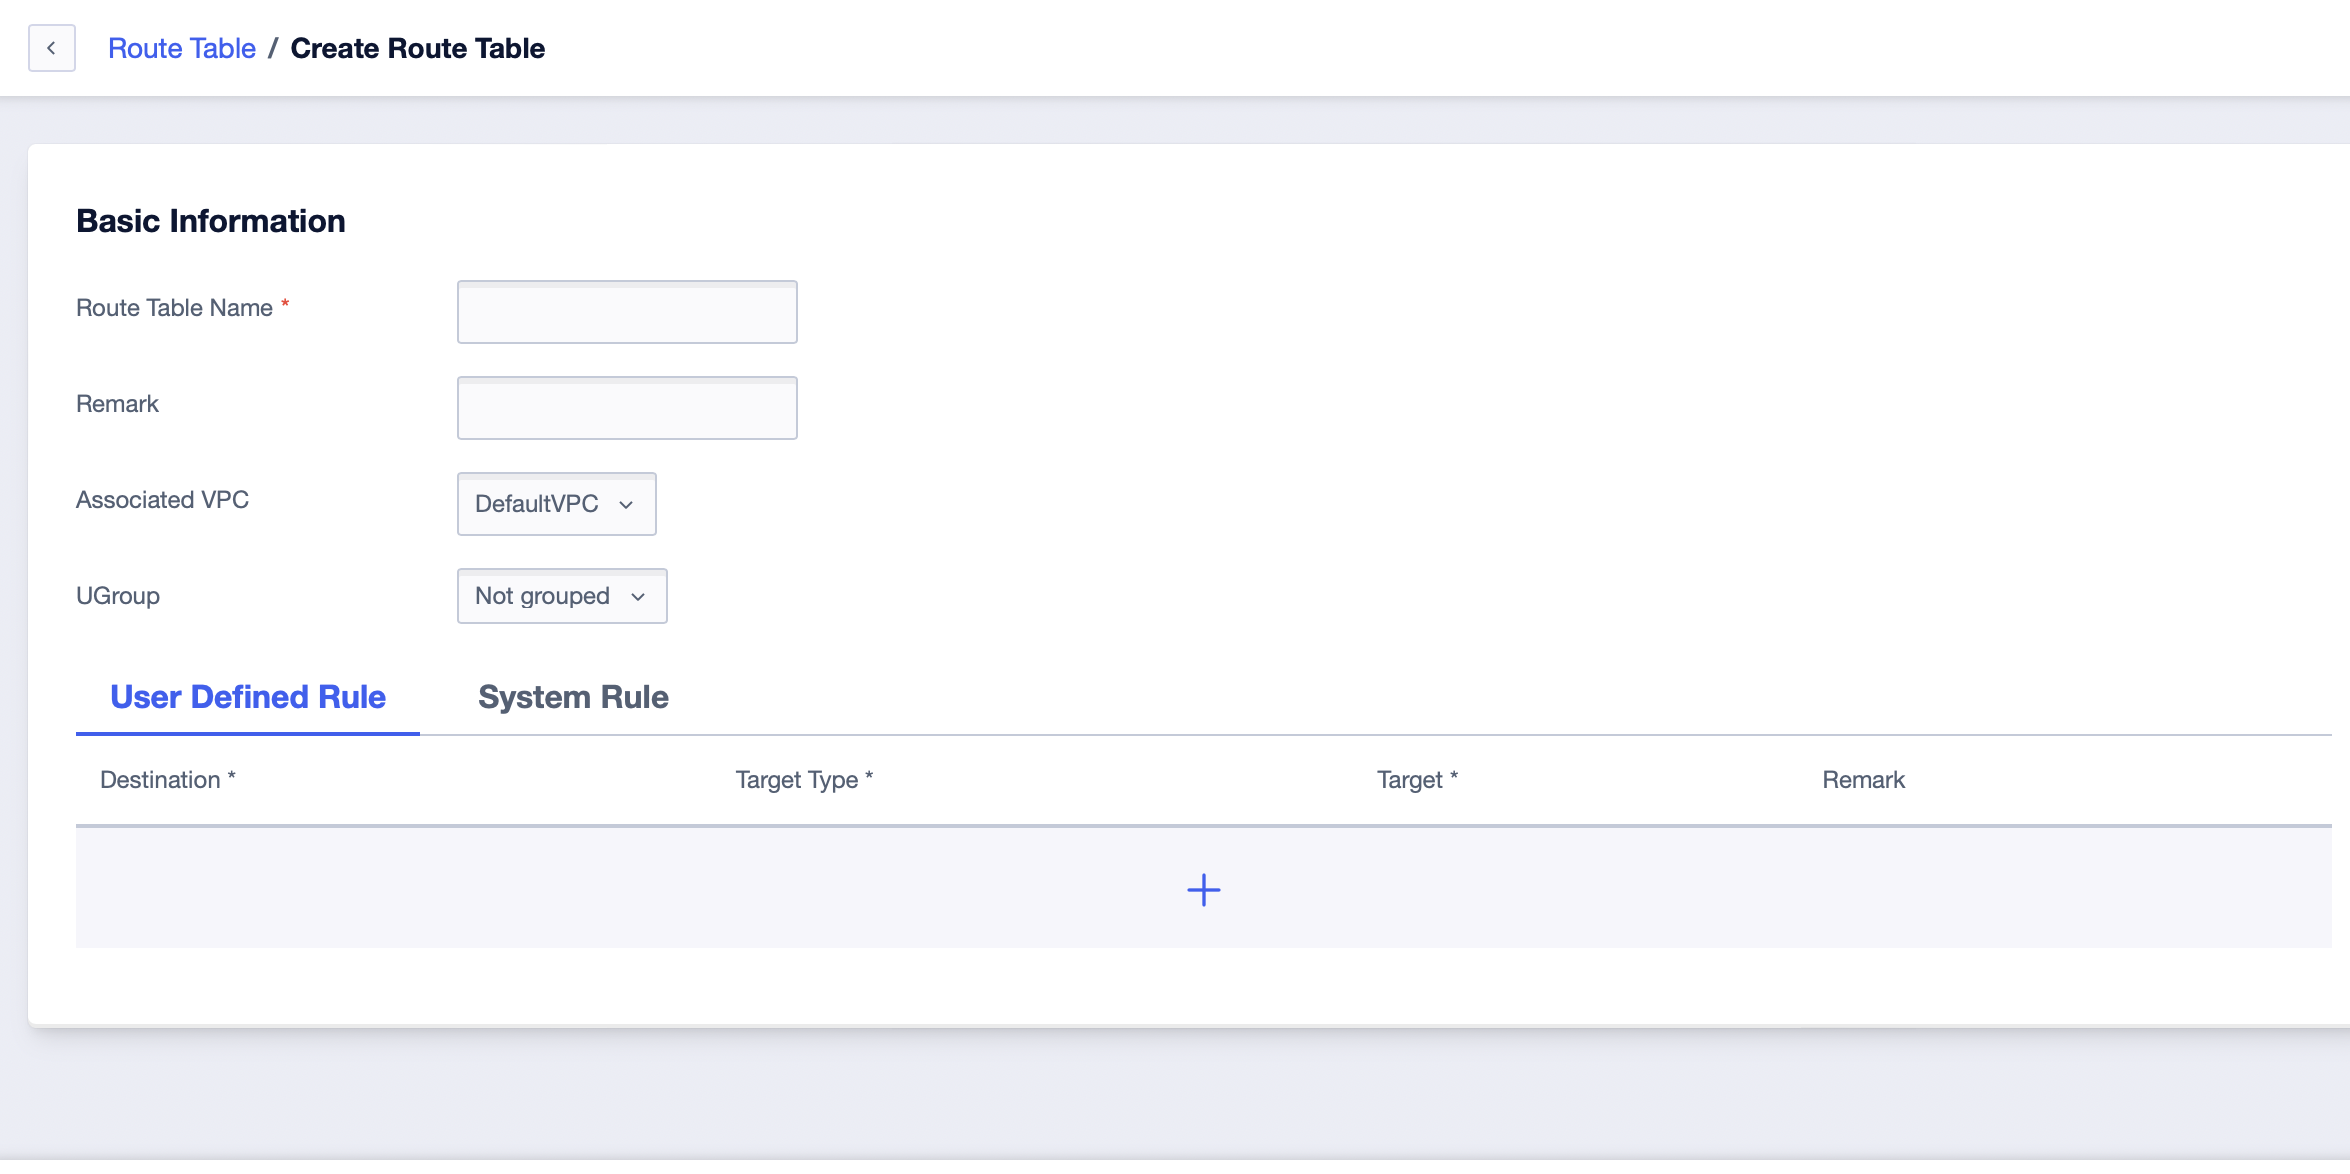
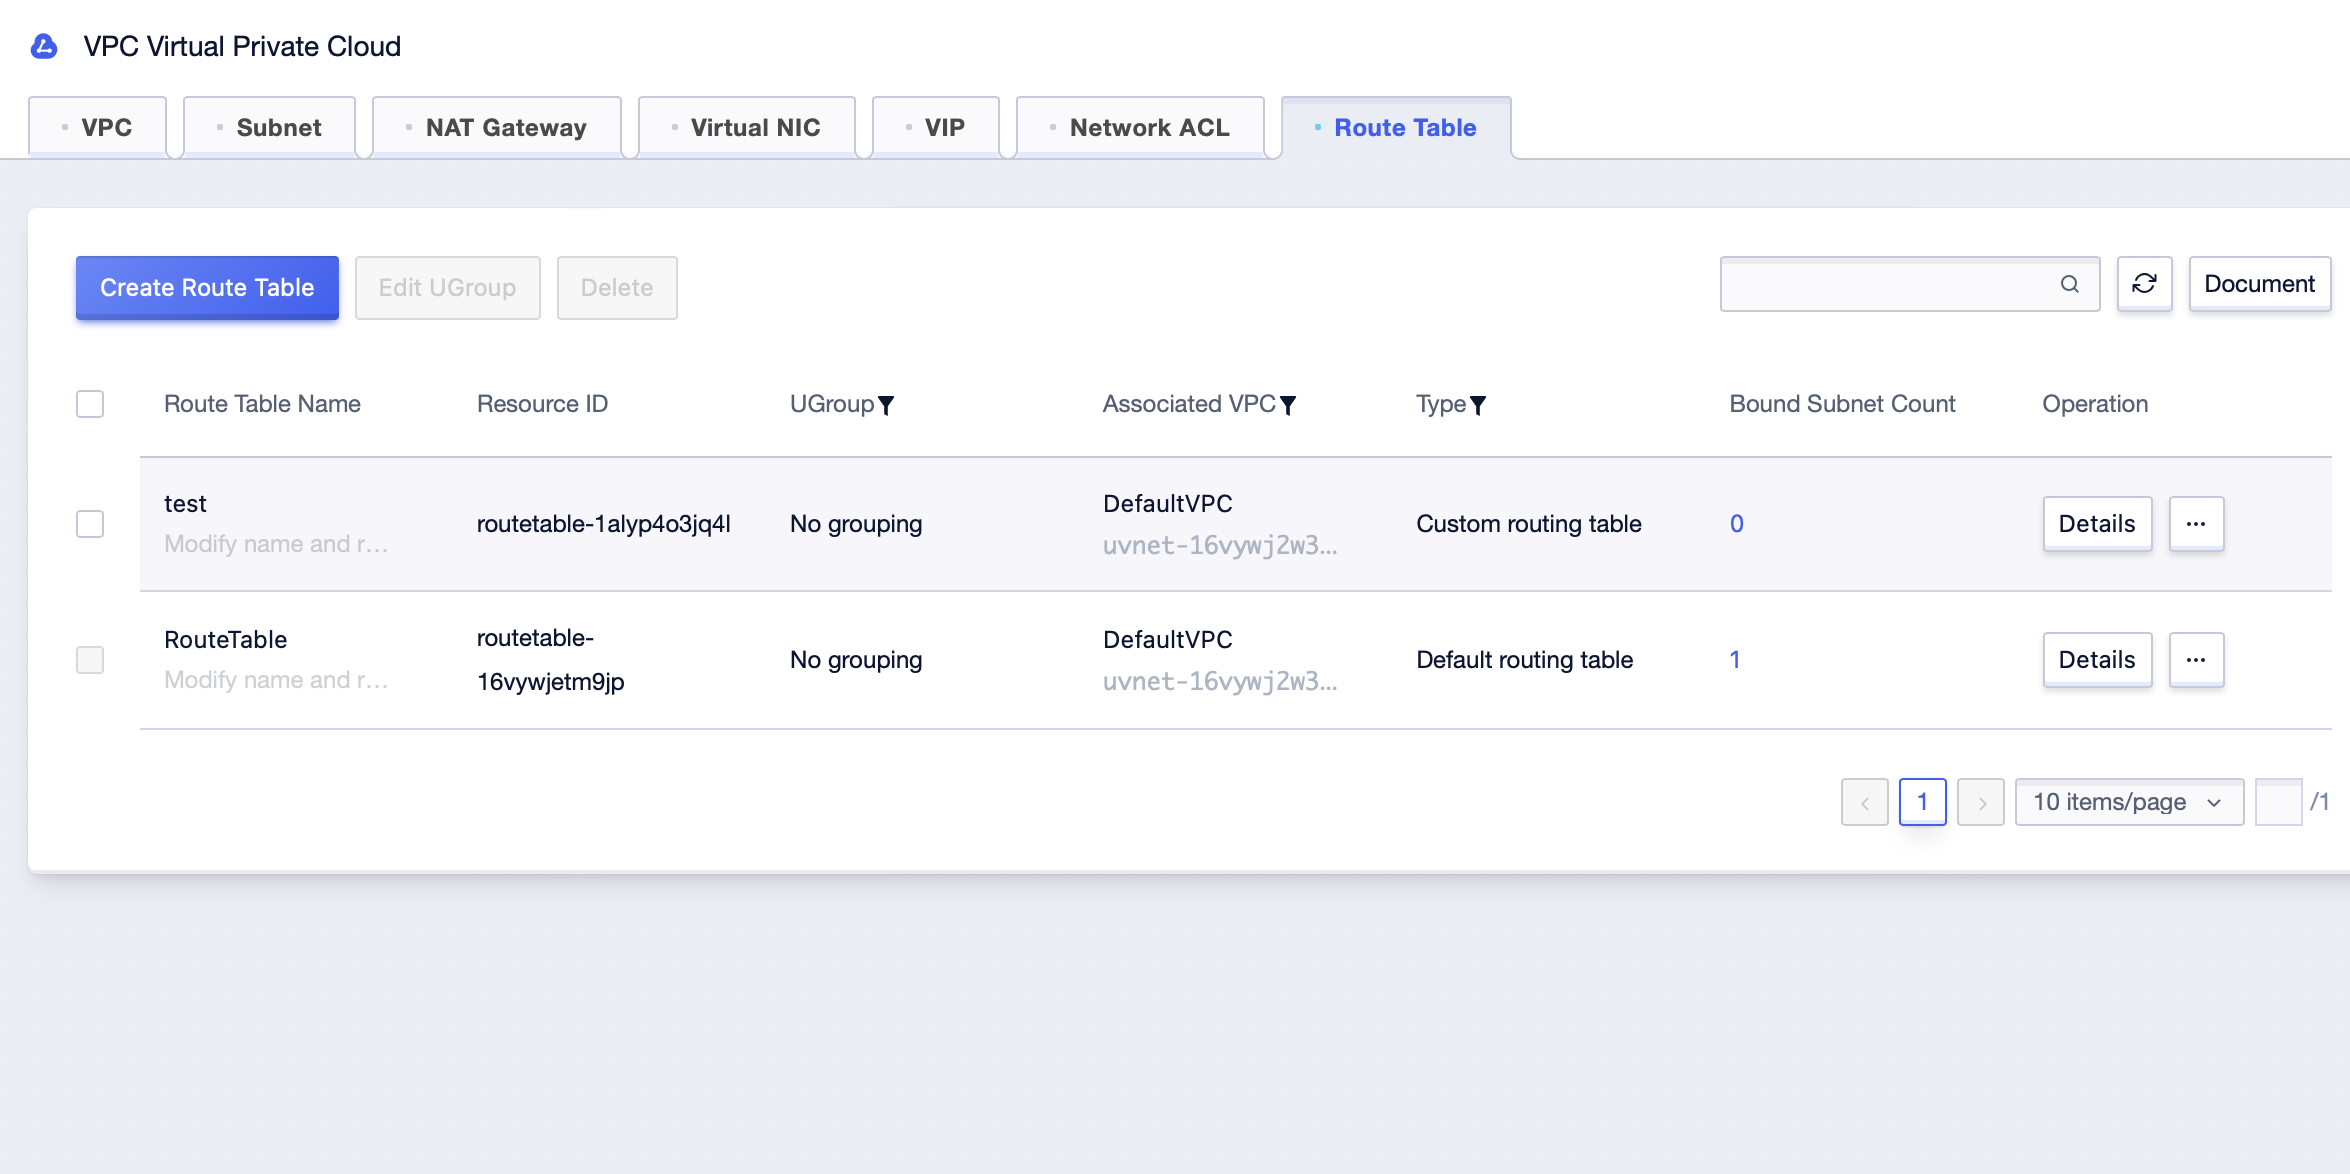
- After creation, you can see the created routing table instance in the list.
Add Custom Route Rules
- On the details page, click “Add rules” to fill in the rules. Fill in destination address, target type, target and other information in the pop-up. Click “OK” to complete it.
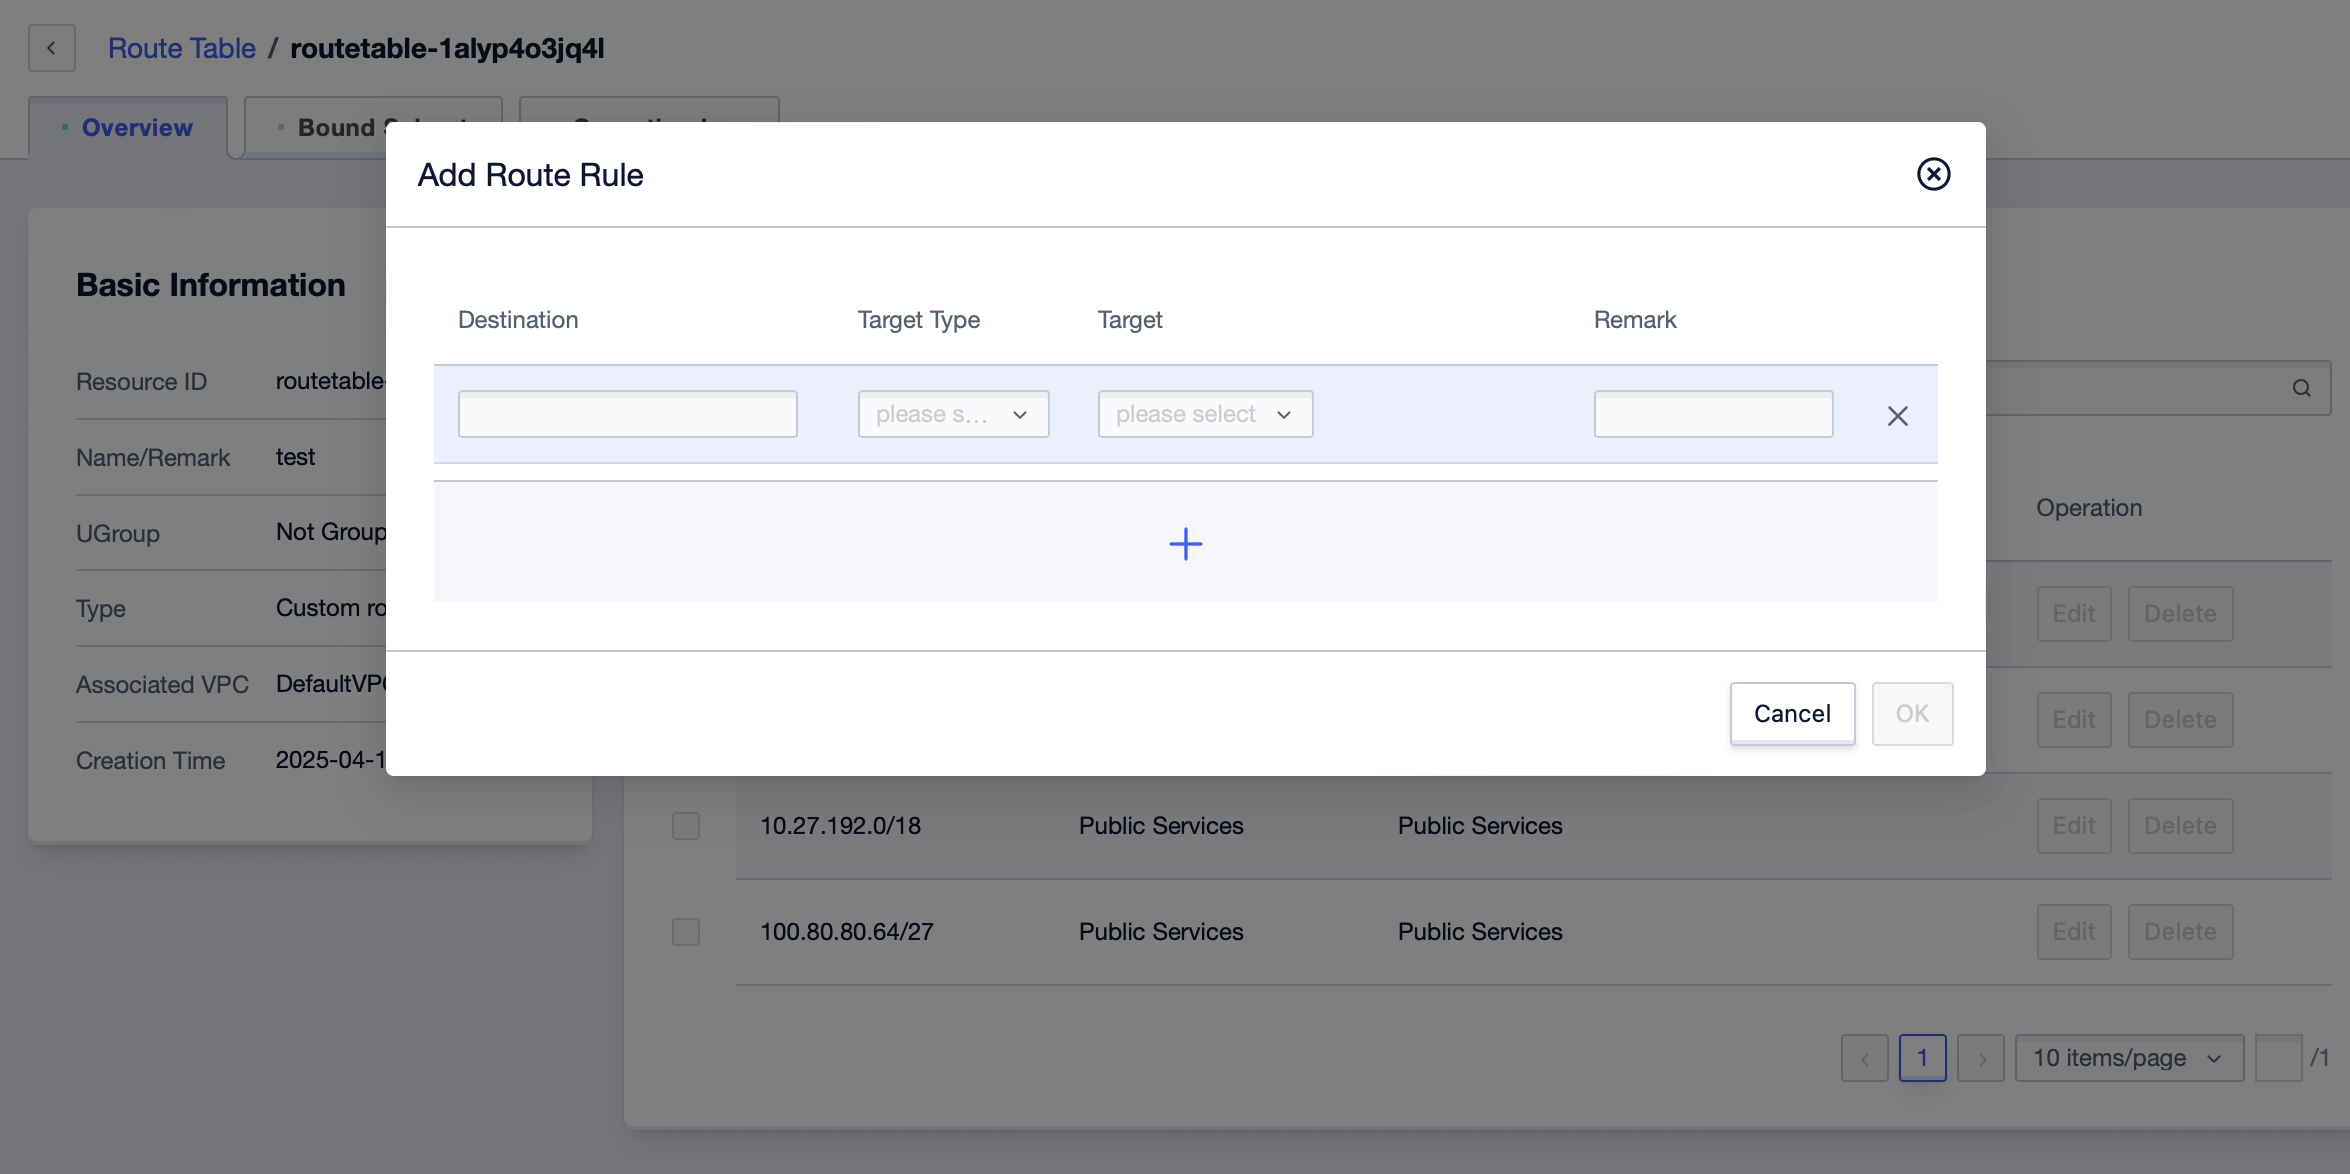
- After the addition, you can edit and delete the rules. System routing rules are not allowed to be edited or deleted.
Binding Subnets
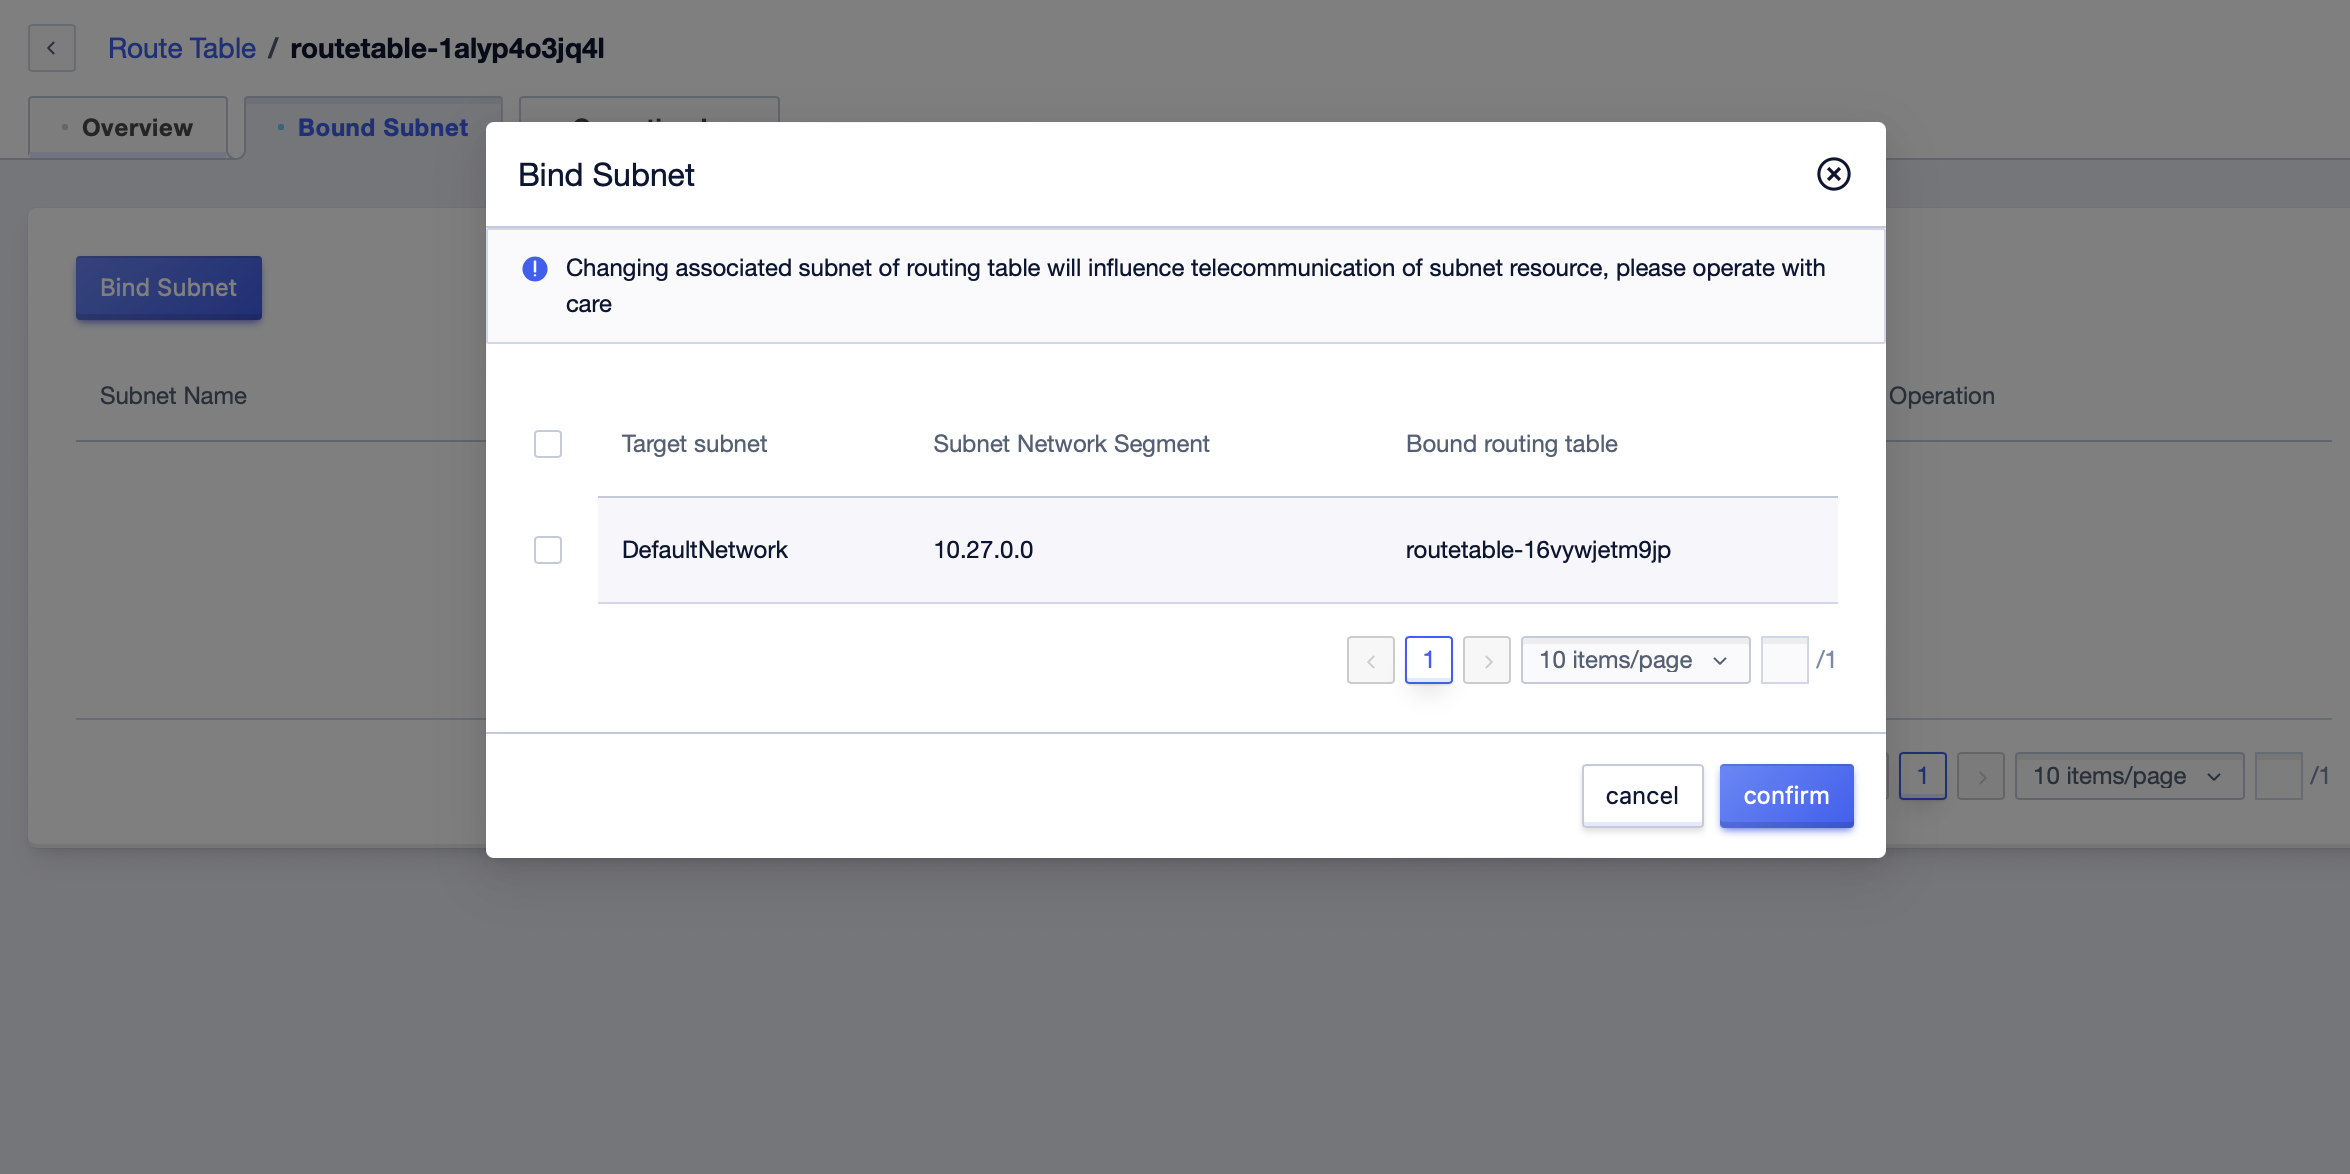
- After the routing rules are added, you can enter the “Bound Subnet” tab. Click “Bind Subnet” to bind the routing table with the subnet under the associated VPC.
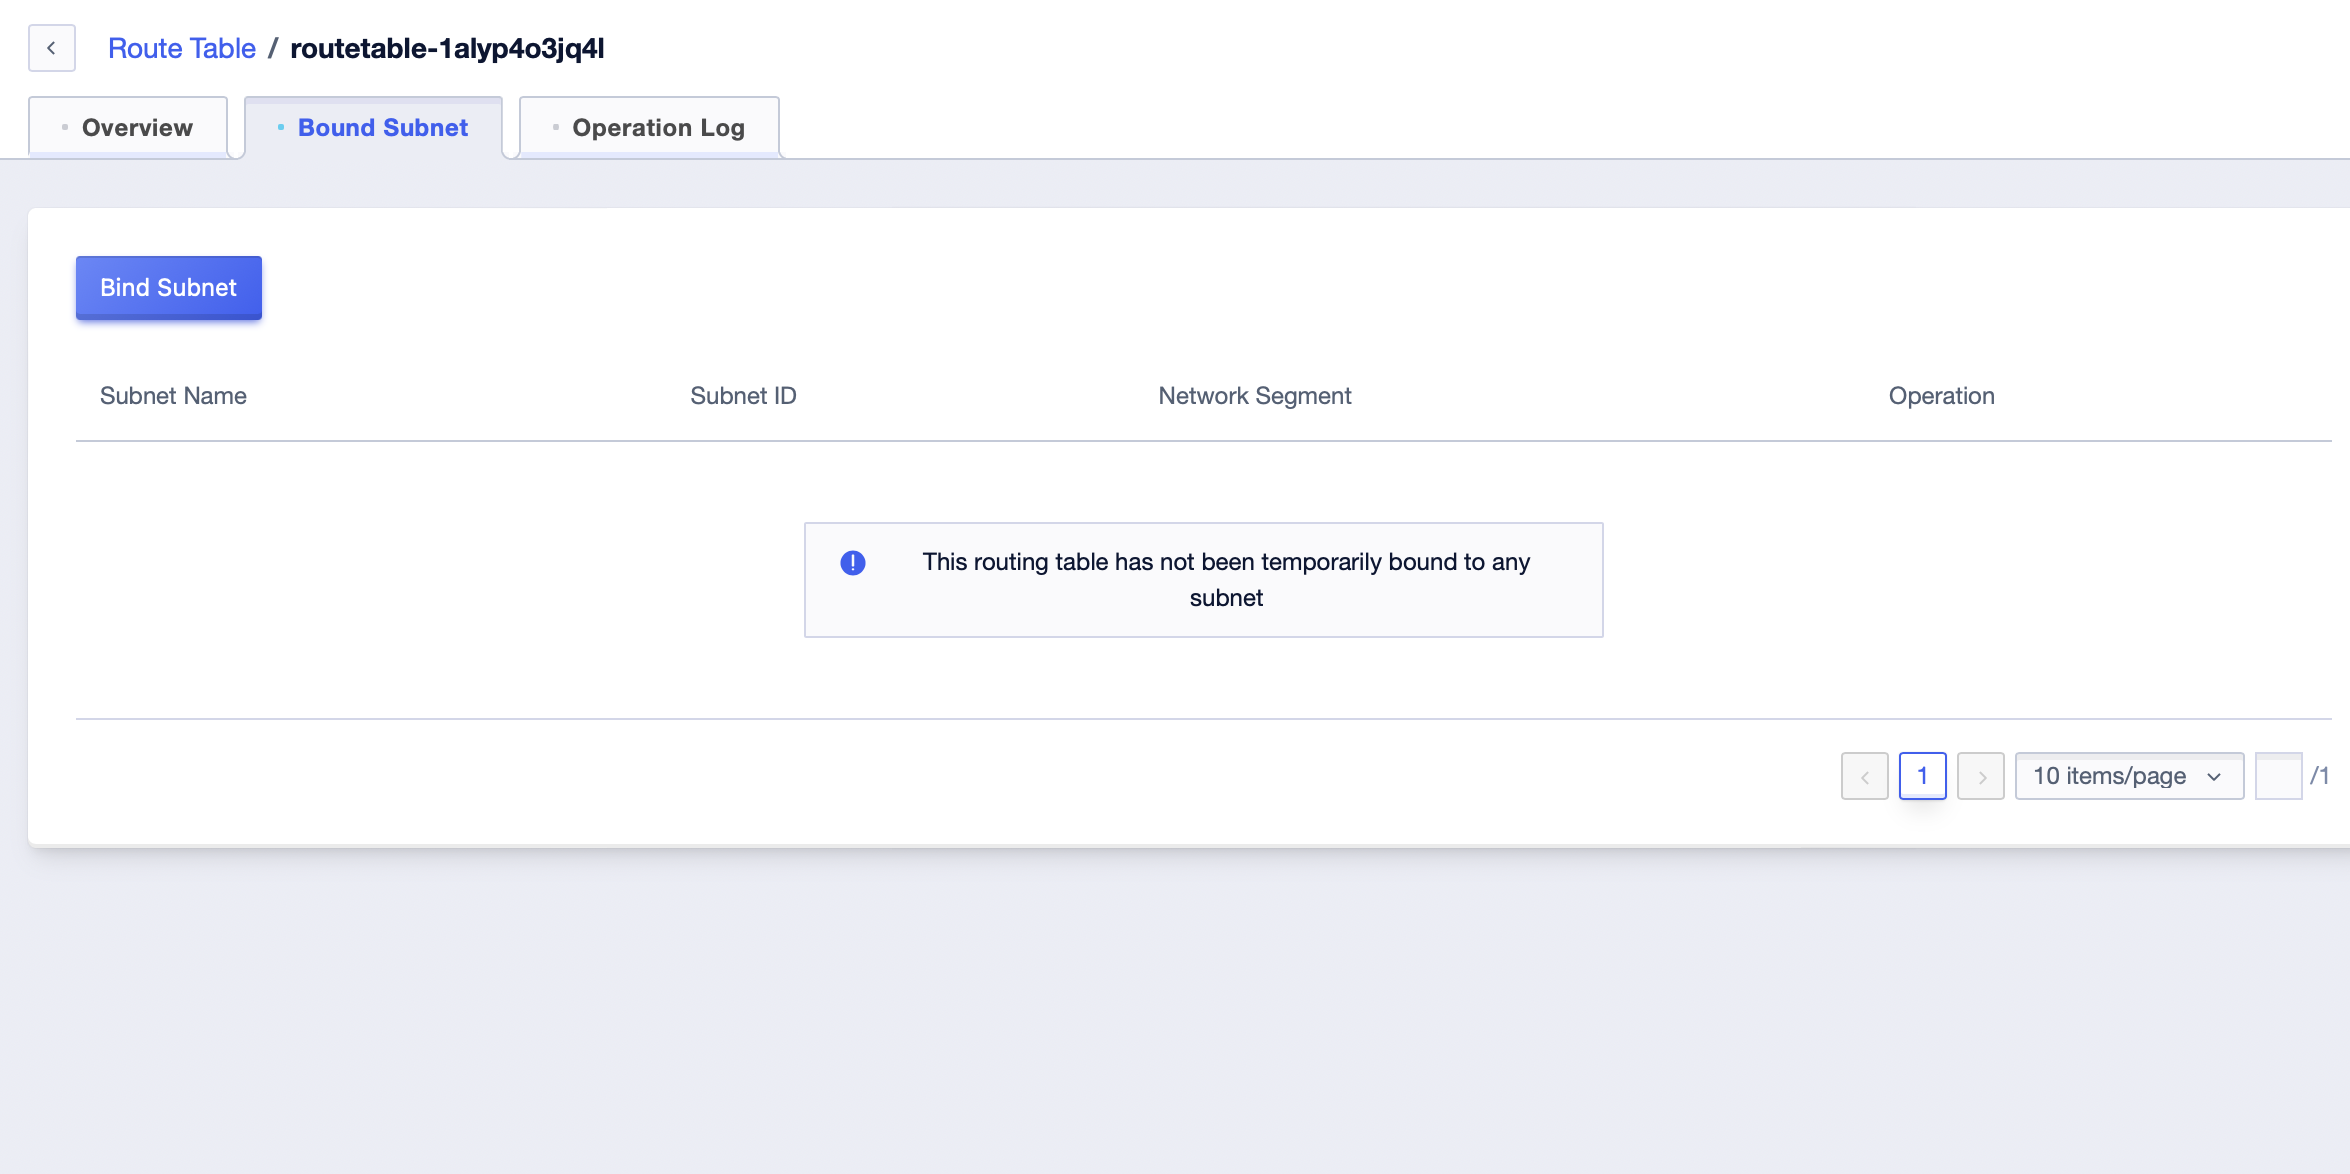
- Select the subnet you need to bind, and click OK to bind it successfully. If the subnet is already bound to other routing tables, it will be switched to the current routing table.