Projects
A project can be regarded as a container for hosting resources under a cloud account. When you register a XXXCloud cloud account, the system automatically creates a default project, and all your resources are stored in this project. If you need to use cloud services for a new business, you can create a new project and deploy the new business under it to achieve network and logical isolation between different businesses.
- By default, projects are isolated from each other in terms of network and logic. For example, a host in Project A cannot be bound to an EIP (Elastic IP) in Project B, and cannot communicate with the internal network of hosts in Project B by default. However, after connecting the projects, internal network communication can be achieved between UHost (cloud hosts), UDB (databases), and UMem (memory storage).
- Resources cannot be migrated between projects. For instance, a host in Project A cannot be migrated to Project B, as they are not in the same basic network and are also logically isolated. However, for static resources such as custom images, you can submit a ticket to apply for migration to another project.
- If you need to use a sub-account to manage project data, please assign the corresponding sub-account the IAMFullAccess permission policy.
- To delete a project, the project must have no resources, no sub-members, and no connections to other projects.
Set a Specified Project as the Default Project
Since there may be multiple projects under one cloud account, you must specify a project first whether you manage cloud resources through the console or API. If no project is specified, the system will consider that you have selected the “Default Project”.
- After entering Resource Statistics, click the drop-down arrow of the current project in the upper left corner, and select to set a specific project as the default project.
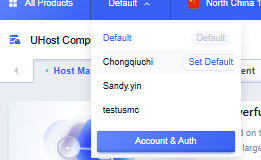
- Once the current project is set as the default project, you will directly enter the console of this project the next time you log in.
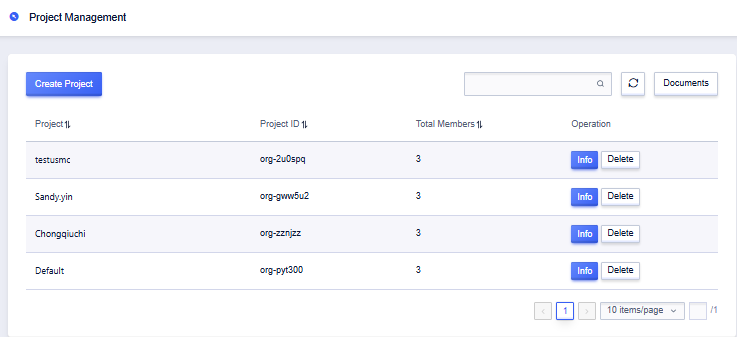
Edit a Project
- Open the Permission Management page, move the mouse to the name of the project you want to modify, and click the [Edit] icon.
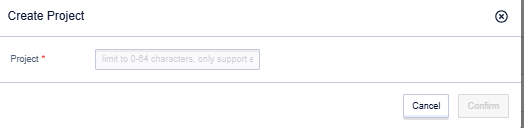
- Enter the new project name and click “Confirm” to save the modification.
Delete a Project
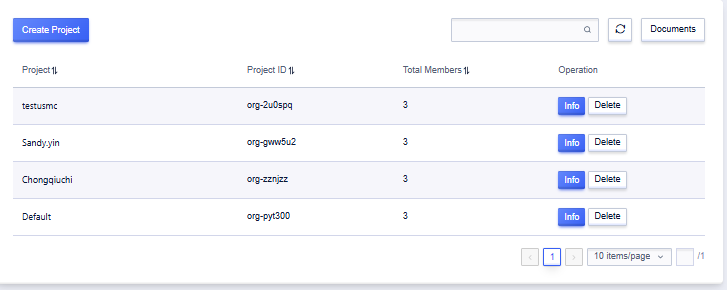
- Open the Project List page and click the “Delete” option in the operation column of the target project.
- After confirming the operation is correct, click the “OK” button.
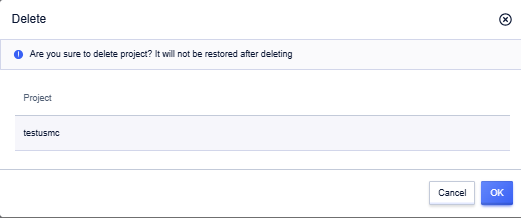
Note: This operation can only be performed by the primary account and sub-accounts granted IAM management permissions. Before deleting a project, please first remove all project members and resources. Projects cannot be restored after deletion, so please be careful.
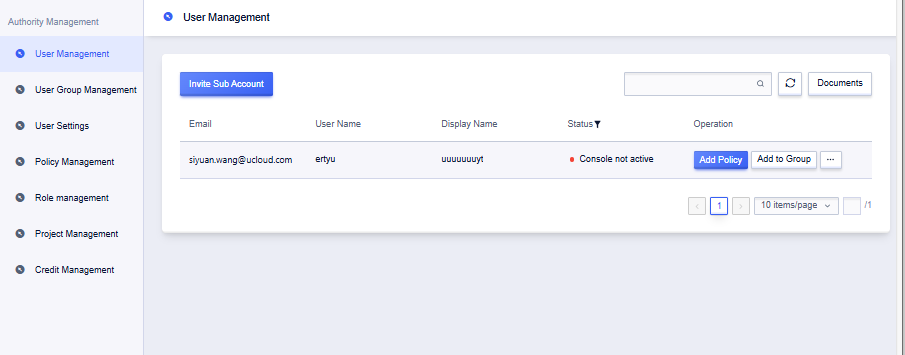
Add Members to a Project
- Open Authority Management - User Management and click on
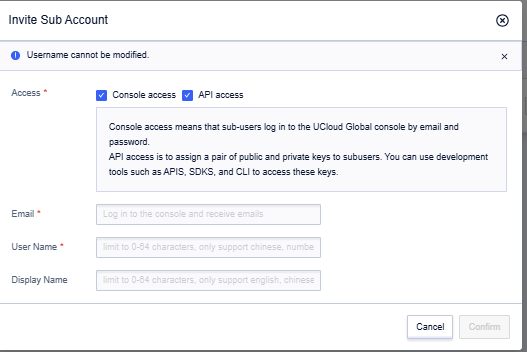
Invite Sub Account.
- Fill in the sub-account information and click Confirm.
- Click
Add Permissionin the operation column of the user list or go into user details and clickAdd Permission, select the project and permissions to be authorized and confirm.
-
Notify the sub-account owner to check an activation mail.
-
The sub-account owner clicks the activation link in the mail, sets the account password, and can login to use after setting.