VPC
Create VPC
Select "Private Network VPC" in "Products and Services", enter the private network page, and click the "Create VPC" button in the "VPC" tab to create.

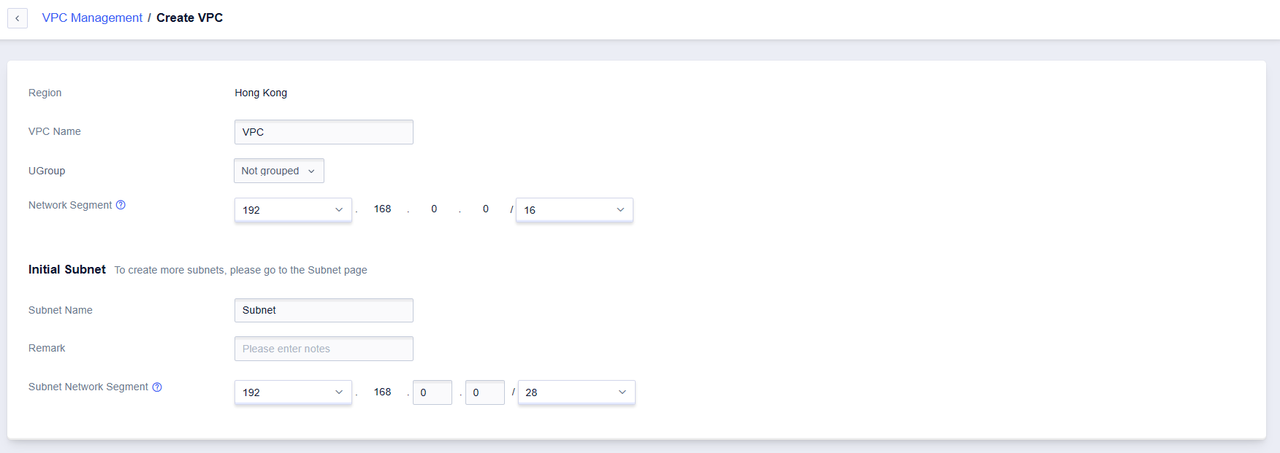
In the pop-up page, fill in the VPC name and select the required network segment, which is 192.168.0.0/16 by default. Then click "OK".

Creation successful, you can view the created VPC in the VPC list on the VPC tab.

Add Subnet
After creating the VPC, you can add multiple non-overlapping network segments at any time.
Click the "Manage Network Segments" button in the "VPC" tab.

In the pop-up dialog box, fill in the subnet information to be added.

Click "Confirm" to successfully add.
View VPC Details
Click the "Details" button in the "VPC" tab to enter the details page of a specific VPC.

In the details page, you can see the basic information such as the name of the VPC, resource id, remarks, business group, number of subnets, and network segment.

Delete VPC
In the VPC list, select the VPC to be deleted and click the "Delete" button.

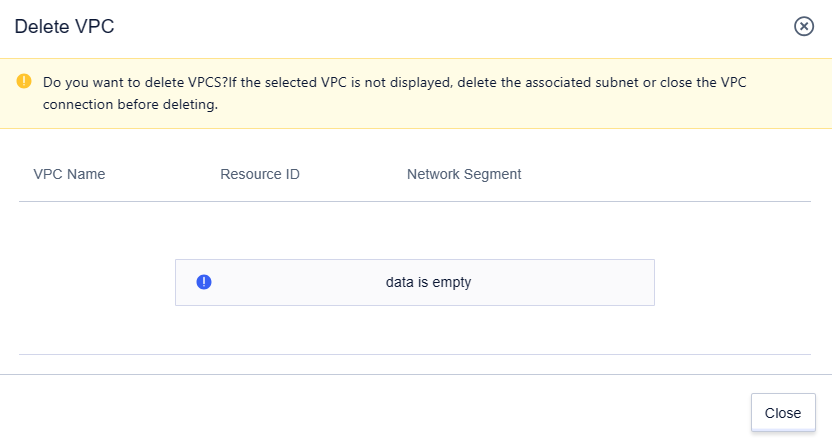
Before deleting a VPC, ensure that all cloud resources and subnets within the VPC have been deleted, otherwise, deletion will not be possible. In the pop-up "Delete VPC" dialog box, click "Confirm" to confirm the deletion.
